
Cue the Imperial March, y’all.
I made a Darth Vader Christmas Tree and it’s easily my new favorite Christmas decoration. Ever.
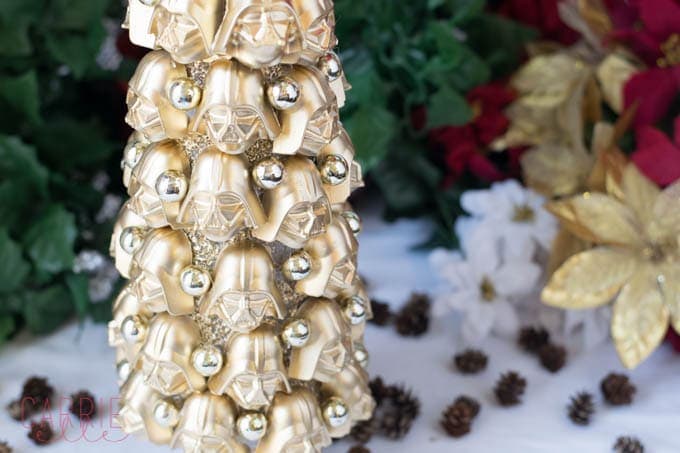
I’m so excited about this and so in love with this golden shrine of Darth Vader heads that I don’t even know where to start.
The idea came to me like this:
Conversation with my Star Wars-obsessed son, Jack
Me: Do you have any ideas for a fun Star Wars Christmas decoration that I could make?
Jack: A Darth Vader Christmas tree?
Me: YES.
And so it was born.
 I’m going to show you how I did it and tell you what you need to make your own. It wasn’t hard, but it was time consuming (and kind of messy). But OMG. It was so, so worth it…everyone in the house loves it and it brings a smile to my face every time I see it!
Here’s what you need to make it (these are affiliate links when applicable):
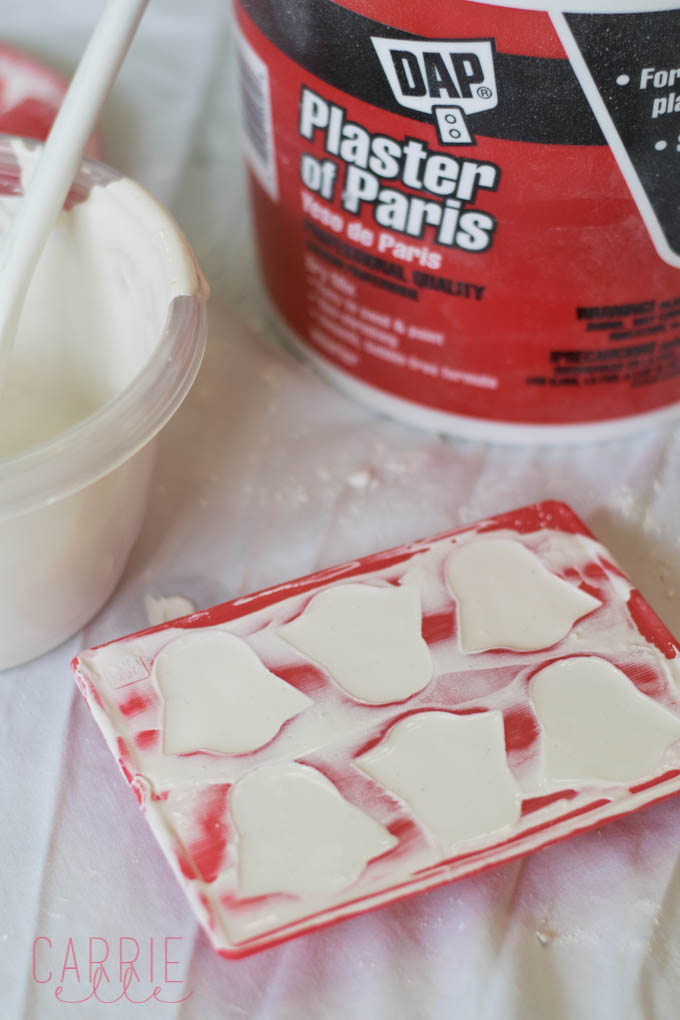
- Plaster of Paris (I bought this 8lb bucket on Amazon, but you could also buy this at your local Home Improvement store). I used about 3-4 pounds (you’ll be making lots of Darth Vader heads).
- Star Wars silicone molds (which you can use for tons of other stuff…I’ll link to the other things I’ve made with them at the bottom of this post)
- Styrofoam cone, 15″ x 4″
- Wired ribbon for bow (I also used a star like this that I bought at Michaels for the top of my tree)
- Miniature ornaments (I found some like this in the miniature Christmas tree section at Michaels – I bought two packs)
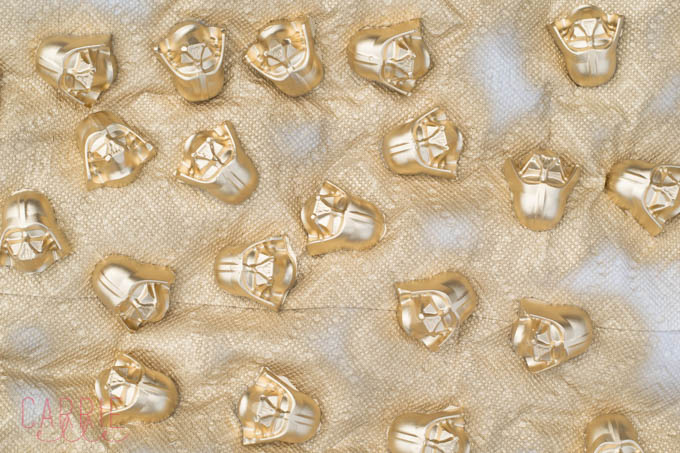
- Metallic gold spray paint
- Glue gun
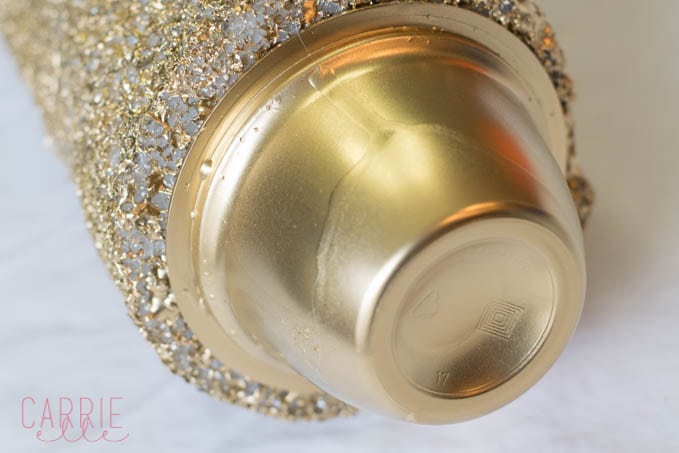
- I used an empty Dole fruit cup for the trunk because that’s what I had around the house. You could also use an empty tuna can.
Here’s how to make it:
You’ll need to make a ton of Darth Vader heads out of Plaster of Paris. There will be directions for mixing the Plaster of Paris on the package, but it was 2 parts plaster to 1 part water. There is only one Darth Vader mold in the silicone set I bought, so I just kept making Darth Vader heads as I thought about it over the weekend.
I made 50 heads and it worked out perfectly for this tree. Be sure to mix small batches of the Plaster of Paris as it won’t last more than a few minutes before starting to set…so you’ll need to mix a new batch for each round of heads.
This was definitely the slowest part of the process, but I just worked on these when I had spare time. If you have a ton of molds, this could be done *way* faster.
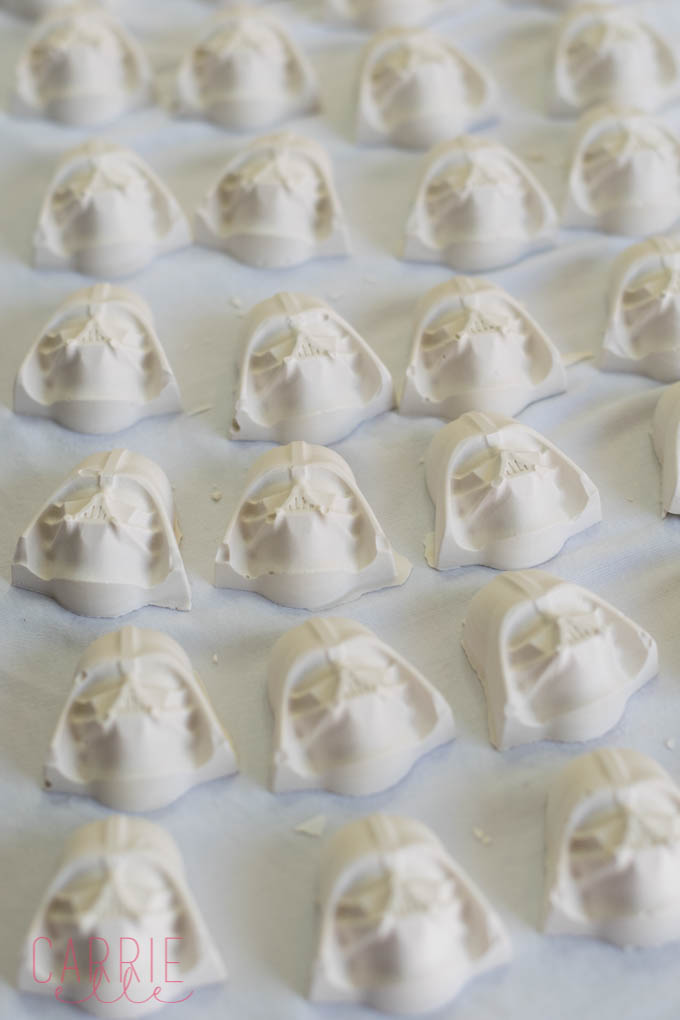
Once they’re all dry, take them outside and spray paint them all.
You’ll also want to spray paint your styrofoam tree.
The heads needed two coats of spray paint. The tree needed three (but it dries super quick, so this didn’t take long). Be sure to spray paint your trunk at this time, too.
 It shouldn’t take long for everything to dry, and as soon as it’s dry, you can use your glue gun to affix your trunk to your tree.
 Start gluing your heads on one by one, starting at the bottom. You’ll want to just glue in the center of the back of the head as this is the only part that will be sticking to the tree.
 I did a ring around the bottom of the tree, then one above it, and kept repeating until I had glued all the heads to the tree. I knew they wouldn’t all match up perfectly, so I started each line of Vaders from the same side of the tree…that way, any mismatch-y lines ended on the back of the tree (and I plan on putting that side against the wall, but honestly, it looks great from any side…it’s not perfect, but it looks fine to me).
There will be gaps between heads, and I used these spaces for the little ornaments. I glued a dot on the tree and then stuck the ornament in the glue (I tried gluing the ornament first, but that resulted in burnt fingertips – ouch).
 Once I had finished the tree, I made a bow and glued it to the star I’d picked out…and then glued that to the top of the tree.


 So, yes…this did take some time. But the look on Jack’s face when he saw it all coming together? Worth every second.
I’ve also used these Star Wars molds to make crayons and soap.
And if you’re looking for more cute Christmas tree crafts, be sure to check out my M&M Christmas trees and these button trees that the kids can make.
Find me on Facebook for easy recipes, free printables, super simple kid-friendly crafts, and things to do in Dallas. I’d love to have you join me over there.
Here are some other posts you might like!


Pin Me! 🙂


Zigmund
Wednesday 25th of December 2024
Hledám firmu, která zaměstnává kvalifikované řemeslníky, kde jsou k dispozici služby, jako je údržbář, a kde si můžete objednat různé elektrikářské a instalatérské práce a mnoho dalších drobných oprav. Prosím o doporučení takové firmy v Praze.
Sandy McClay
Saturday 3rd of September 2016
I have a 36 year old Star Wars fan that is getting on of these for Christmas! He will love it!
Carrie
Tuesday 6th of September 2016
YAY! I hope he loves it!!
Hil
Friday 20th of November 2015
Holy cow this is just the coolest! I have to make this for my hubby!!
Carrie
Tuesday 24th of November 2015
Thanks Hil! It's definitely a hit around here!
Jenny
Thursday 19th of November 2015
This is unbelievably awesome! My boys would LOVE it!
Carrie
Tuesday 24th of November 2015
Thanks Jenny! It was really fun to make.
Lindsey
Thursday 19th of November 2015
My husband would love this!! SO creative!
Carrie
Tuesday 24th of November 2015
My husband definitely thinks this is the best Christmas decoration in the house. lol.