{UPDATE: These trees are now 11 years old. ELEVEN. YEARS. OLD.}
Every now and then, I get a little crafty. Usually, it’s inspired by a holiday – in fact, I have a laundry list of holiday decorating ideas constantly swirling around in my head, most of which I never act upon. But once in awhile, I break out the ribbons and glue and turn an idea into a reality.
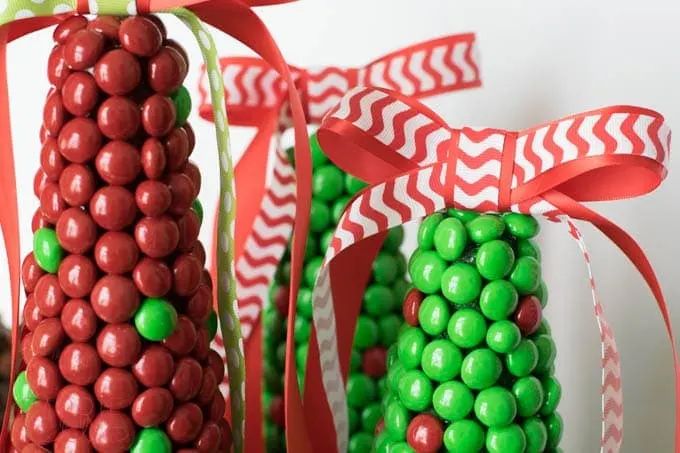
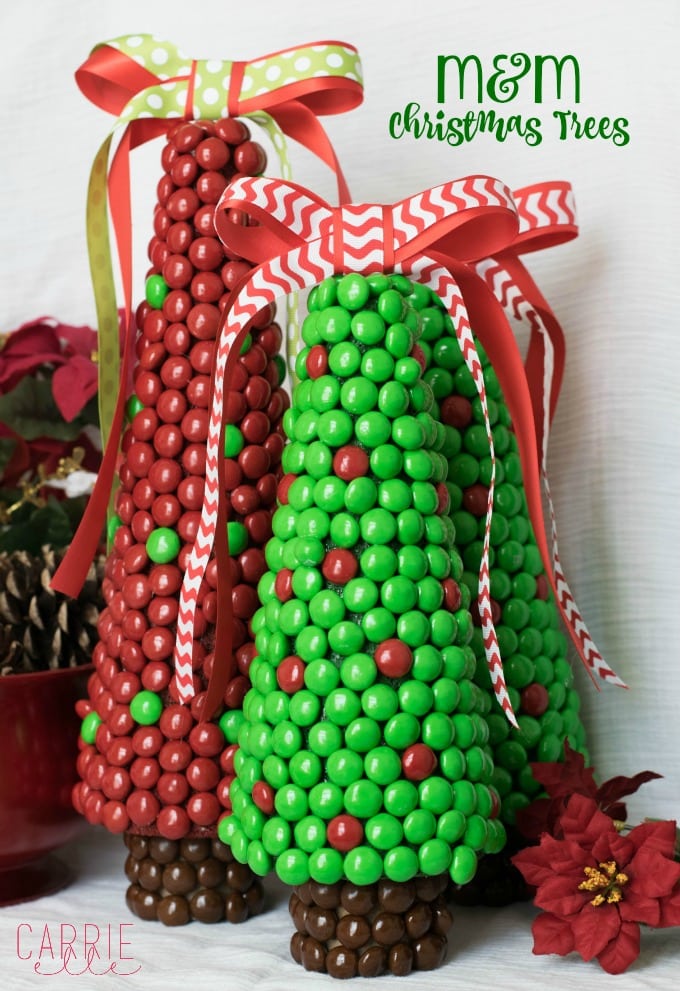
I’m going to share my most recent crafting explosion with you today (and tell you how to make your own, too). I bring you: the M&M Christmas Tree.
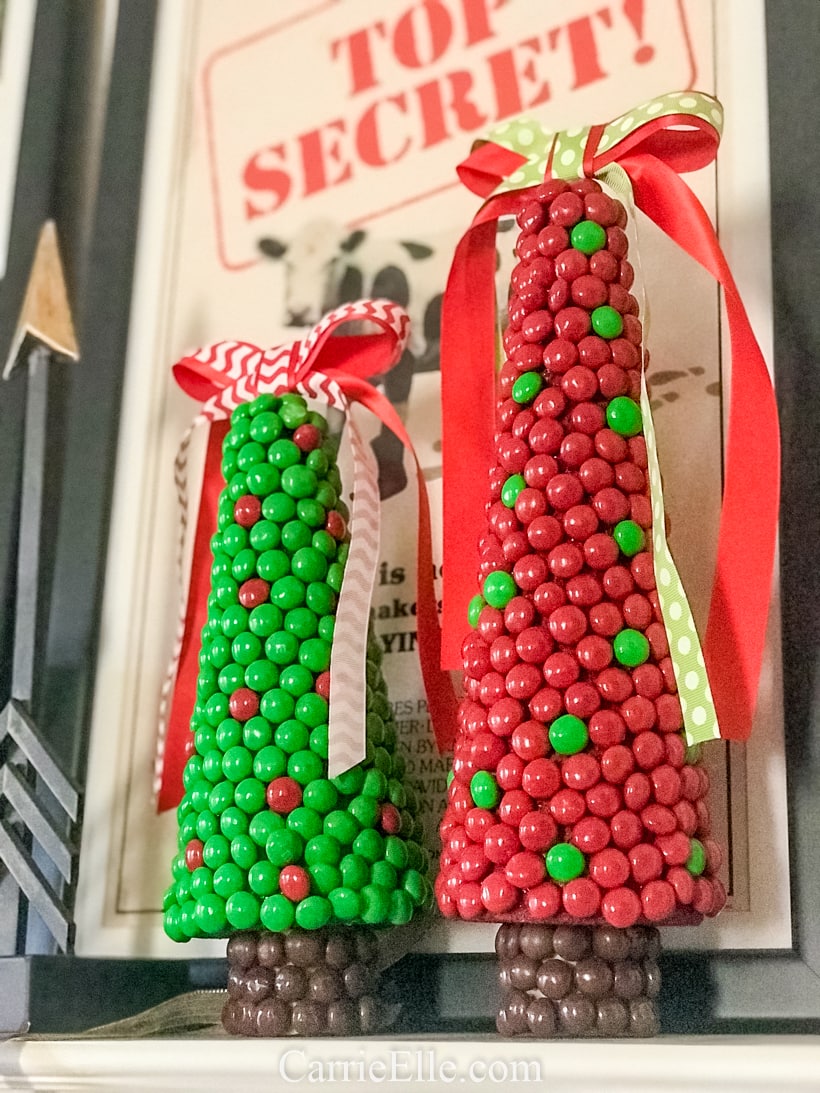
UPDATE: This will be my sixth Christmas with these trees, and they’ve held up beautifully! I wrap them up in plastic bags, put them in a shoe box, and store in a closet (not in the attic with the rest of the Christmas decorations because they would melt during our Texas summer). They look as good as new, you guys! Here’s what they look like today:

These were surprisingly easy to make – and I did it the hard way. I didn’t have a glue gun at the time (shame on me!), so I did it the old-fashioned way: with craft glue. But with a glue gun you could whip these up in minutes.
 But first, a few notes.
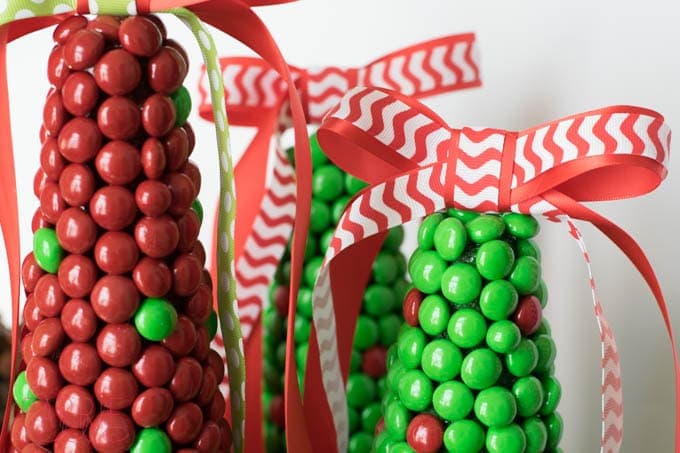
The Gingerbread M&M’s I used are larger than normal M&M’s, and they come in green, brown, and red. There are more green in each bag (at least in my experience) than the other colors, so the green trees took fewer bags to make. Each tree took about two bags, except for the red tree – that one took closer to three (and here’s a good place to disclose that the kids and I ate these by the handfuls as I worked on this craft, so who knows – it might take you fewer bags than I used).
This fun craft is actually really simple – but takes some time if you aren’t using a glue gun. Because neither of the objects you’re gluing together have a really flat plane, you need to work in small sections, and let the glue set between each section. If you are going to make multiple trees, I would start them all at the same time and give yourself a couple of days to work on them (a few minutes here, a few minutes there).
 Here’s what you need to make one tree:
- Styrofoam cone
- Glue (I used E6000) – Be careful when choosing glue. It needs to be super strong, and quick drying. You could also use a glue gun. (if you don’t have one yet, BUY ONE – you can thank me later!)
- Paint (to paint the styrofoam – a little bottle of cheap paint will do) and paintbrush
- Two bags of M&M’s (for one green tree)
- Towel
- Toilet paper roll
- Plastic bags
Here’s how to make your own M&M Christmas Tree (if you don’t have a glue gun):
1. Paint your tree green. This way, the styrofoam won’t show as much through the gaps between M&M’s. Let it dry completely.
2. Cut the toilet paper roll in half – this is going to be your trunk. Trace it onto the bottom of your tree and use a kitchen knife to cut a little trench around the line you just traced – when the tree is ready for the trunk, you’ll place it in the little trench you just cut for extra stability (I also have one that I just glued to the bottom and it seems fine, so you have that option too).
3. Lay the styrofoam on something soft (I used a folded towel). The styrofoam is delicate, and the M&M’s are, too – you don’t want to crack any! Grab one of your plastic bags and use that to prop up the tip of the tree so you have a flat surface to work on (I tried using a towel, papertowels, and fabric to prop up the tree but in the end, the plastic bag was the easiest to manipulate and did the best job).
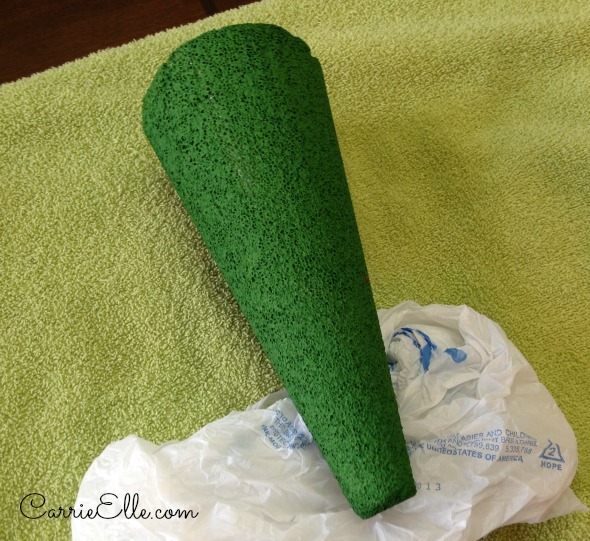
Use a plastic bag to prop up the top of the tree.
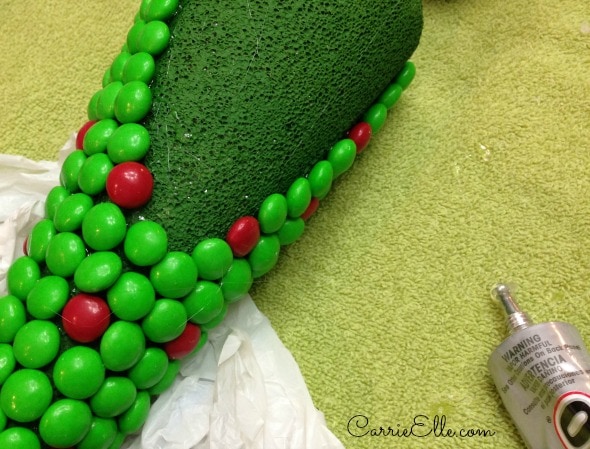
4. Glue a strip right down the center of the tree and place your M&M’s on it. Be sure to leave it alone, without moving it, until they are all dry.

Be sure to let it dry!
5. Once the first row is completely dry, rotate the tree a bit and start on your second row. You’ll want to place a plastic bag under the side of the tree to keep it from rolling over (the weight of the M&M’s makes the tree want to roll).

6. Keep going, one row at a time, until you have covered the tree in M&M’s. Be sure to wait until each section has dried before moving the tree (I’m saying that a lot because I was impatient and ended up redoing the same spot three different times). The last spot will be a bit tricky, but use your Tetris skills to make the M&M’s fit as well as you can. I think the imperfections give it character!
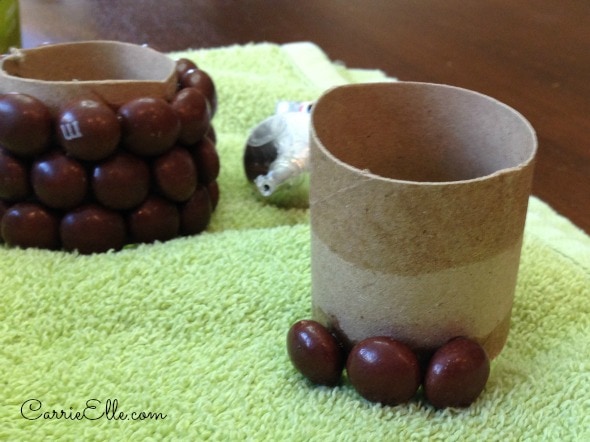
7. While you’re working on the tree, you can start on your trunk (if you even want a trunk – I think they look great without the trunks, too!). Cut your toilet paper roll in half. I glued about three M&M’s on a time, and did three rows. There will be a little part at the top that’s exposed, but that’s good – you’ll stick that part in the little trench you made earlier with the knife.
 8. Stand the tree up and ooh and ahh over it (because it’s going to be so cute!). Glue some M&M’s to the top.
 8. When the trunk and tree are completely dried, glue around the top of the trunk (the exposed, cardboard part) and place it in the trench under the tree (if you’ve used good glue and waited for it to dry, you can turn the tree upside down with no problem). I think this gives it a little extra stability, but if you want to just glue it to the bottom of the tree – or go trunk-free! – you should be fine.
9. Spray your tree with a clear varnish. This will help keep dampness away (water = runny M&M’s). If you want to add a bow, or a star, or something else cute, now’s the time to do it! I made bows and glued them to toothpicks, and stuck those in the top.

Wrap carefully and store in a temperature controlled place (all of my Christmas decorations go in the attic except for these trees and any candles – I don’t want them to melt during our Texas summers, so they stay in my closet).
50+ Best DIY Christmas Centerpieces (Ideas and Designs) for 2024
Thursday 7th of August 2025
[…] Source: carrieelle.com […]
50+ Fabulosos centros de Navidad DIY que cualquiera puede hacer ⋆ wNxm es
Thursday 28th of January 2021
[…] Source: carrieelle.com M&M Coated Christmas Tree Decorations […]
Sue
Wednesday 24th of August 2016
I'd like to try making these trees with rice krispie treats for the tree and using a basic frosting or glaze for the "glue." They would be edible, but you wouldn't want to keep them from year to year.
Carrie
Thursday 25th of August 2016
I love that idea! I may try making edible ones this year too...I think it would be so fun for a party!
Donna Sahr
Tuesday 29th of March 2016
Always looking for crafts. Like starting before the holidays and use for gifts. I luv giving gifts. Thanks for the idea. Keep making fun crafts.?
Carrie
Wednesday 30th of March 2016
I love making things for gifts, too - it's fun for me and special for the people I give them to!
Jeni
Saturday 21st of December 2013
So cute! I probably would have eaten all of the candy! I love those gingerbread m&ms.
Carrie
Monday 23rd of December 2013
Yeahhh, they were pretty good! I ate plenty of them, lol!