

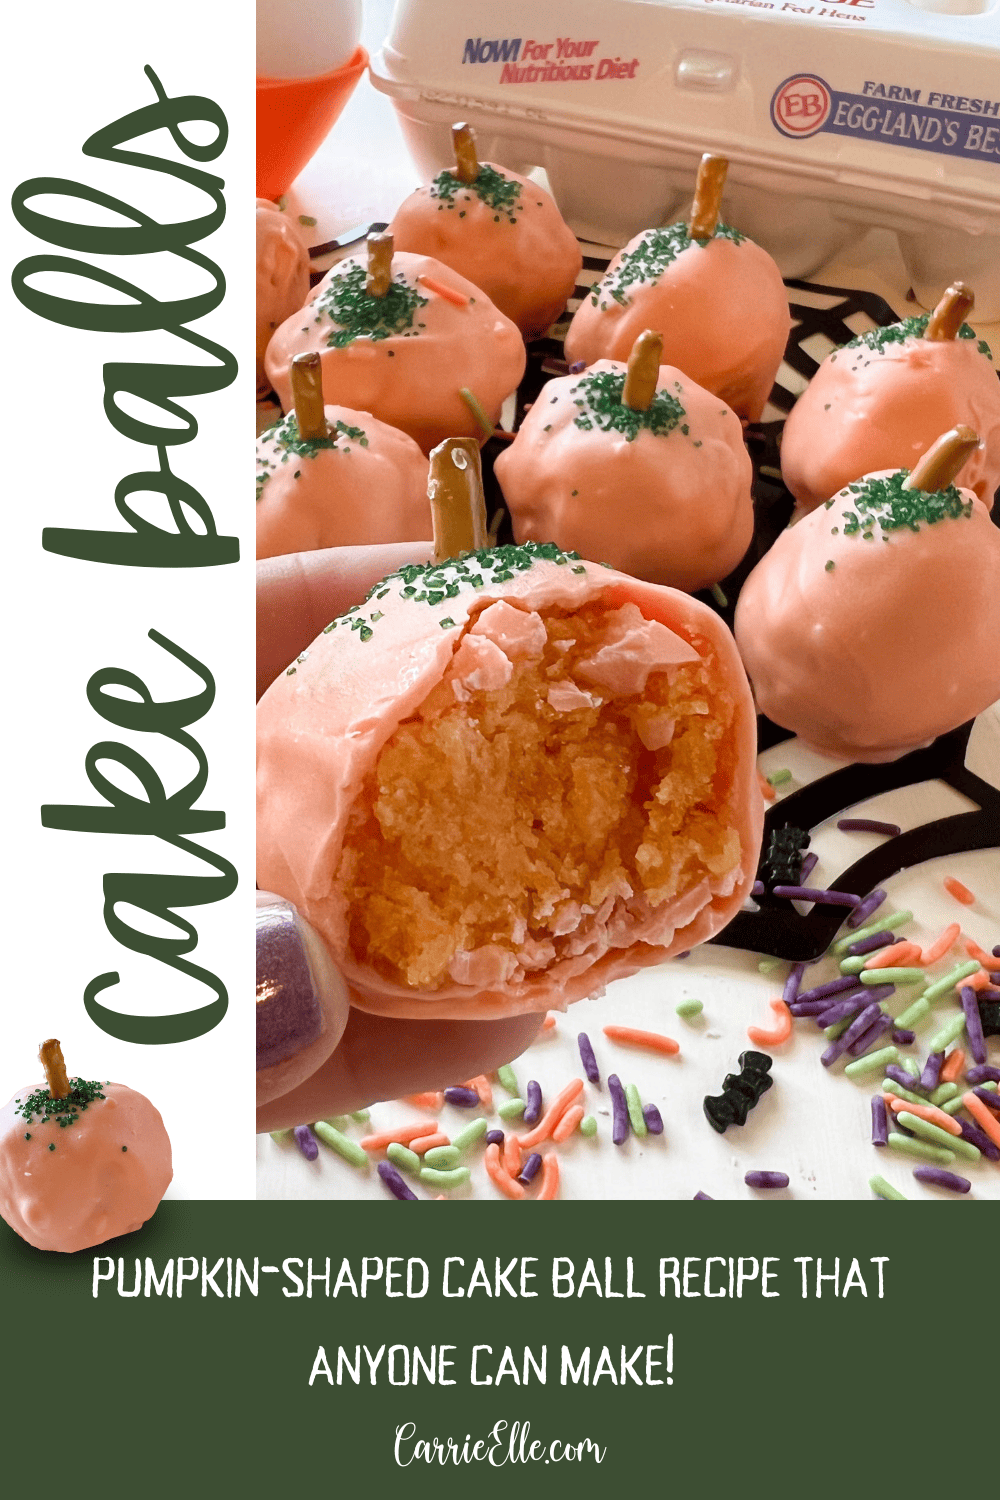
Have you ever made cake balls before? If so, you know they’re not easy to make. If not, you should know that they’re not easy to make. But this recipe IS simple. I promise. These pumpkin-shaped cake balls are made with a cake that naturally sticks together so they retain their shape while you’re making them. And also, they’re pumpkins, so they don’t have to be perfect because pumpkins aren’t perfect.
Easy Cake Balls
I partnered with Eggland’s Best eggs to make these cake balls. I use Eggland’s Best eggs because they stay fresher longer than ordinary eggs, which makes them great for baking. They also have a ton of flavor (and bright orange yolks!).
These cake balls are easy to make and hold their shape well. We are going make them using my mother-in-law’s recipe for Orange Jell-O cake. This cake is super duper moist to begin with, and then we add a powdered sugar glaze that gives us some extra sticking power. We do not add frosting to this recipe, which is what keeps cake balls together, because the powdered sugar glaze does the trick.

So, yes, they look like pumpkins…but taste like orange cake. It’s okay, I promise. Nobody will complain (my kids said these were better than Starbucks cake pops, and they’re Starbucks cake pop connoisseurs, so…I promise you won’t be disappointed that these don’t take like pumpkin (besides, look how pretty that bright orange cake color is!).

Cake Ball Tips
Before you start, I have a few tips that I learned the hard way. (by the way, 0% of me considers myself a real baker or expert at anything cake-related, so this is coming from a beginner’s POV).
Make sure the food coloring is oil-based, or powdered. Don’t ask me how I know. I purchased this food coloring from Amazon to use for these cake balls. Your other option is to buy orange candy melts, which would take out the food coloring need completely.

Use a plastic fork, with the middle two tines broken off, to dip your cake balls in the melted candy coating. The candy melts will start to coat the fork, so wipe it off periodically. I put the cake ball on the fork, submerged it in the candy melts, and made sure the ball was thoroughly covered. You can also use a spoon to help drip more candy coating on top if necessary. Let the excess drip off, then transfer your cake ball to your baking sheet.

Keep the candy coating melted, and the cake balls chilled. If it’s taking you a while to get through them, you might need to stick the balls back in the freezer for a few minutes or reheat your candy coating to keep it as liquid as possible (it will start to harden as it cools). The cake balls need to be cold or they will start falling apart. The candy coating, on the other hand, needs to be hot because once it starts cooling, it will break the cake apart when you try to dip it.
Aside from that? They’re cake balls. They’re delicious. They don’t need to be perfect. Have fun with them!


Sheet Pan Breakfast with Eggs, Sausage and Sweet Potatoes
Ingredients
- 1 sweet potato, chopped large
- 2 shallots large, chopped
- 3 garlic cloves minced
- 1 lb asparagus chopped
- 2 tbsp extra virgin olive oil
- 10 chicken breakfast sausage pre-cooked
- 6 eggs
- salt and pepper to taste
Instructions
- Preheat oven to 425°F and line a large, rimmed baking sheet with parchment paper or a Silpat® baking mat. If using parchment paper, lightly spray with non-stick cooking spray. Set aside.
- In a large mixing bowl, shallots, garlic, 1.5 tbs olive oil, and salt and pepper until vegetables are well coated.
- Spread the sweet potato mixture onto the prepared sheet pan in a single layer without overcrowding and roast in a pre-heated oven for 8-10 minutes.
- Remove sheet pan from oven. Stir vegetables, and add asparagus and pre-cooked sausage. Return to oven for 10 minutes.
- Remove the sheet pan from the oven and create 6 round, evenly spaced openings among the vegetables. Carefully pour an egg into each opening, keeping the yolk intact. Season with additional salt and pepper, if desired, and return to the oven.
- Bake for 6-8 minutes, or until the egg whites are set and the yolks reach the desired level of doneness. Remove sheet pan from oven and garnish with dried herbs of choice, if desired, and serve immediately. Enjoy!